Garden Seed Starting
Gardening enthusiasts and green thumbs alike eagerly anticipate the arrival of spring, a season synonymous with new beginnings and vibrant growth. One of the most rewarding and cost-effective ways to kickstart your garden is by mastering the art of seed starting. In this blog post, we will explore the ins and outs of starting garden plants from seed, from selecting the right seeds to nurturing seedlings until they are ready to thrive in your outdoor garden. Learn how to start seeds indoors and avoid common seed starting mistakes. Read on!
Choosing the Right Seeds
The first step in the garden seed starting journey is selecting the right seeds for your garden. Whether you’re a seasoned gardener or a beginner, it’s crucial to choose seeds that align with your climate, soil conditions, and gardening goals. Consider factors such as the average frost dates in your region, sunlight exposure, and the type of soil you have. Some seeds require a longer growing season, while others may be more suitable for container gardening. In my book, Backyard Big: Growing Food in Your Backyard, I provide the best plant varieties in my area and a month-by-month schedule of planting and harvesting.
Investing in high-quality seeds from reputable suppliers ensures a higher germination rate and healthier seedlings. Look for varieties that are well-suited to your local climate, disease-resistant, and ideally non-GMO. Starting with the right seeds sets the foundation for a successful and bountiful garden. One popular place to order seeds is Johnny’s Seeds.
Creating the Ideal Seed Starting Environment
Once you have your seeds in hand, the next step is to create an ideal environment for germination. Seedlings require consistent warmth, moisture, and adequate light to sprout and grow. Invest in quality seed-starting mix, which is a lightweight, sterile medium that provides a perfect balance of moisture retention and aeration.
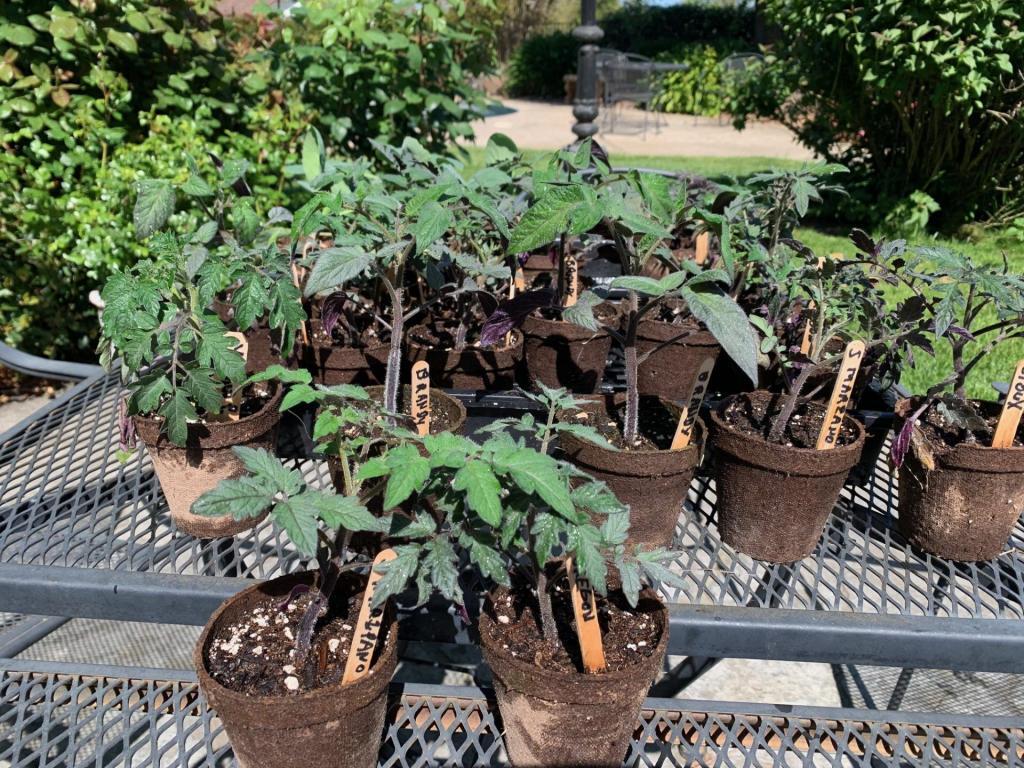
Consider using seed trays or individual pots to sow your seeds. This allows for better control over moisture levels and makes it easier to transplant seedlings when the time comes. Make sure to label your containers with the plant type and sowing date to keep track of your growing schedule.
Also consider using a grow tent which is an enclosed space that serves as an enclosed plant nursery. These come in a variety of sizes from just a few feet tall and across, to room-sized. These structures are usually lined with a reflective coating and have enough structure to hang lights and fans. Good grow tents have adjustable ventilation to manage air flow and temperature.
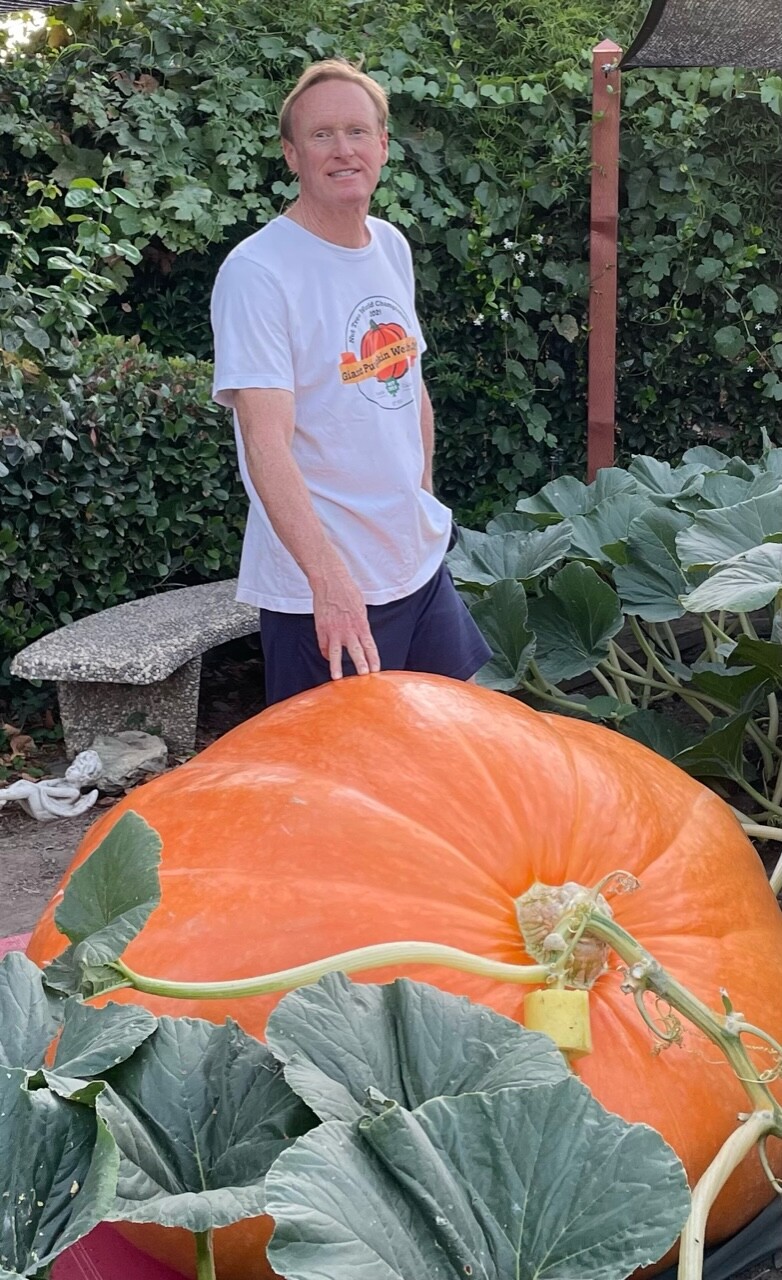
I believe grow tents are common in the Cannabis industry as they are useful in creating optimal environments for growing these plants. Rather than converting an entire room to a Cannabis grow area, one can use a tent and make efficient use of space. Check out my blog post Germinating Giant Pumpkin Seeds in a Grow Tent for information about this technique.
Temperature and humidity are critical factors in successful seed starting. Most seeds germinate best at temperatures between 70-75°F (21-24°C). A seed starting heat mat can provide the consistent warmth needed for optimal germination. To maintain humidity, cover your trays or pots with plastic domes or plastic wrap until the seeds sprout.
Lighting Up the Seedlings’ World
Light is a key element in seedling development. While a sunny windowsill can work for some plants, many seedlings require more intense light to grow strong and healthy. Consider using fluorescent grow lights or LED grow lights positioned just a few inches above the seedlings. Provide 14-16 hours of light per day to mimic the sun’s natural cycle.
As seedlings grow, it’s essential to adjust the height of the lights to prevent them from becoming leggy or stretched. Leggy seedlings are more susceptible to disease and less likely to thrive when transplanted into the garden.
Feeding and Watering
Just like any living organism, seedlings need nutrients to flourish. Initially, the nutrients present in the seed itself sustain the seedling. However, after the first set of true leaves appear, it’s time to introduce a diluted, balanced liquid fertilizer. Follow the package instructions to avoid over-fertilizing, which can harm delicate seedlings.
Watering is a delicate balance in seed starting. Keep the soil consistently moist but not waterlogged, as excess moisture can lead to damping off, a fungal disease that can quickly wipe out your seedlings. Use a spray bottle or a gentle watering can to avoid disturbing the delicate roots.
Transplanting Seedlings
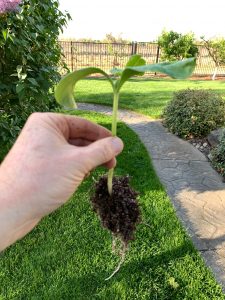
As your seedlings grow, they will outgrow their initial containers. Transplanting seedlings into larger pots or directly into the garden is a critical step in their journey. Be gentle when handling the seedlings, and try to disturb the roots as little as possible.
Harden off your seedlings before transplanting them outdoors by gradually exposing them to outdoor conditions. This helps them acclimate to the changes in temperature, wind, and sunlight, reducing the risk of transplant shock.
Conclusion
Mastering the art and science of garden seed starting is a rewarding endeavor that brings you one step closer to a flourishing garden. From selecting the right seeds to creating an ideal germination environment, nurturing seedlings, and finally transplanting them into your garden – each step is a testament to the wonders of nature and the joy of cultivating life from tiny seeds. So, roll up your sleeves, grab your gardening gloves, and embark on the journey of turning seeds into a thriving garden that will delight your senses and nourish your soul. Happy gardening!
Learning More
Backyard Big: Growing Food in Your Backyard and Backyard Big: Growing Atlantic Giant Pumpkins in Your Backyard are both available on Amazon. Be sure to check out my blog posts on Giant Pumpkin Seed Germination, and other topics.